
Maintaining Kitchen Disposal Units
A kitchen disposal unit is a convenience many homeowners rely on daily. It helps us manage food waste efficiently, keeping our kitchens clean and free from unpleasant odors. But like any hard-working appliance, a garbage disposal needs proper care to stay in top condition.
I have seen firsthand how much trouble a neglected disposal can cause. From foul smells to frustrating clogs, these issues are often preventable. Regular and correct maintenance can extend the life of your unit and keep your plumbing running smoothly.
This article will share practical tips and methods for maintaining kitchen disposal units effectively. We will cover everything from daily habits to deep cleaning and troubleshooting common problems. My goal is to empower you with the knowledge to keep your disposal humming for years to come.
Understanding Your Kitchen Disposal Unit
Knowing how your disposal works is the first step to proper care. These units sit under your sink, connected to the drainpipe. When you turn it on, a spinning plate with impellers grinds food waste against a stationary grind ring. This process breaks down food into tiny particles that can safely wash down the drain.
There are two main types of disposals. Continuous feed units run as long as the switch is on and water is running. Batch feed disposals only operate when a special stopper is in place and twisted, providing an extra safety feature. Most homes have continuous feed models because they are easier to use.
It is important to remember that a garbage disposal is not a trash can. It is designed for small amounts of soft food waste. Things like vegetable scraps, fruit peels, and leftovers are usually fine. Larger items or non-food materials can quickly damage the motor or clog your pipes.
I always tell people to be mindful of what goes in. This simple awareness prevents many headaches. Understanding these basic functions will help you make better decisions about what to put down your drain.
Essential Daily Habits for Disposal Health
Good daily habits are the cornerstone of maintaining a healthy kitchen disposal unit. These small actions make a big difference over time. They prevent food particles from building up and causing odors or clogs.
Always run cold water before, during, and after grinding food waste. Cold water helps to solidify any grease or oil so it can be broken down more easily by the grinding components. Running water after grinding helps flush all the food particles completely through the pipes and into the sewer system. I suggest running the water for at least 30 seconds after the grinding sounds stop.
Be selective about the food you put in your disposal. Stick to soft, biodegradable items. Avoid hard materials like fruit pits, bones, and corn cobs. Fibrous vegetables like celery stalks and artichoke leaves can wrap around the impellers and cause jams. I have seen many disposals damaged by these common items.
Grinding citrus peels, like lemon or orange rinds, once a week is a great habit. The fresh scent helps to deodorize the unit. The peels also have a slightly abrasive quality that can help scrub away minor grime from the grinding chamber. This keeps your disposal smelling fresh naturally.
Deep Cleaning Methods for Odor and Grime
Sometimes, daily habits are not enough to combat lingering odors or sticky grime. That is when deep cleaning methods become necessary. These techniques tackle stubborn buildup and refresh your disposal unit effectively.
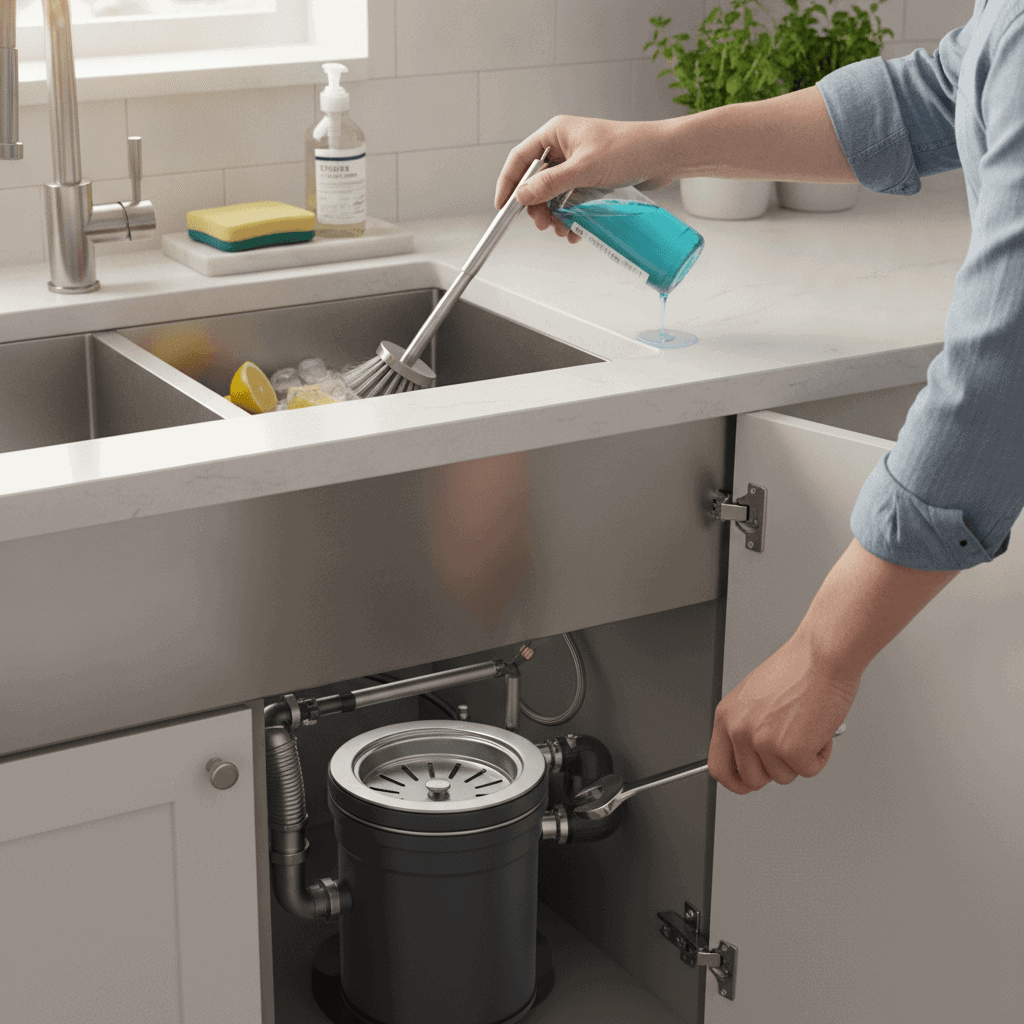
One popular and effective method uses ice cubes and rock salt. First, turn off the disposal. Then, drop about two cups of ice cubes into the unit. Add half a cup of rock salt. Turn on cold water and then switch on the disposal. The ice and salt act as abrasives, scrubbing the grinding elements clean. The grinding action also helps sharpen the impellers. I usually recommend doing this monthly.
Another excellent natural cleaner combines baking soda and white vinegar. Pour half a cup of baking soda down the drain, followed by a cup of white vinegar. Let this mixture sit for 10 to 15 minutes. The chemical reaction creates a foam that helps break down grease and food residue. After the fizzing stops, flush with hot water. This method effectively neutralizes odors and cleans the pipes.
When to Use Natural Cleaning Solutions
Natural cleaning solutions like baking soda, vinegar, and ice are ideal for regular maintenance and mild odor problems. They are safe for your pipes and the environment. I prefer these options for routine cleaning because they do not introduce harsh chemicals into your plumbing system. They are also cost-effective and readily available in most homes.
You can use these methods weekly or whenever you notice a slight smell. Consistent use prevents small issues from growing into bigger, more challenging problems. It keeps your disposal fresh and functional without requiring special products.
Avoiding Harsh Chemicals
I strongly advise against using chemical drain cleaners in your garbage disposal. These products can contain harsh corrosive agents that damage the rubber seals and plastic components of your unit. They can also harm your pipes, especially older ones. Instead of dissolving clogs, these chemicals often just push the problem further down the line, making it harder to fix.
If you have a tough clog, natural methods should be your first choice. If those do not work, it is better to call a professional plumber. They can diagnose the issue safely and clear the obstruction without risking damage to your disposal or plumbing. Prioritizing gentle cleaning ensures the longevity of your appliance.
Preventing Common Disposal Problems
Preventing problems before they start is always better than dealing with repairs. A few key rules can help you avoid the most common issues with kitchen disposal units. These guidelines are simple to follow and protect your investment.
Never pour grease, oil, or fat down your disposal. These substances solidify in your pipes as they cool, creating sticky blockages that trap other food particles. Eventually, this leads to severe clogs. I always tell my clients to collect grease in a container and dispose of it in the trash.
Avoid grinding fibrous materials, such as corn husks, onion skins, banana peels, and asparagus. These items do not break down easily and can tangle around the grinding elements. This often results in a jammed disposal or a persistent clog. Always put these items in your compost or regular trash.
Be careful with hard items like fruit pits, bones, and seafood shells. While disposals are powerful, these items are too tough for them. They can dull the impellers or cause serious damage to the motor. Always discard them separately.
Finally, always use plenty of cold water when operating the disposal. This ensures that all ground food particles are thoroughly flushed through the drainpipe. A good flush prevents buildup and keeps your system clear. This simple act of prevention saves a lot of trouble down the line.
Troubleshooting Minor Disposal Issues
Even with the best maintenance, sometimes a kitchen disposal unit encounters a minor hiccup. Knowing how to troubleshoot basic problems can save you a service call. Most common issues are easy to fix with a few simple tools and steps.
If your disposal hums but does not grind, it is likely jammed. First, turn off the power to the disposal at the switch and the circuit breaker. Look down into the drain with a flashlight and try to spot the object causing the jam. Use tongs or pliers to remove it. Never use your hand. If you cannot see anything, insert a hex wrench into the reset hole at the bottom center of the disposal unit. Wiggle it back and forth to dislodge the impellers. Then, press the red reset button, turn on the cold water, and flip the switch.
A slow drain or standing water often means a clog in the trap or drainpipe, not necessarily the disposal itself. After making sure the disposal is off, use a plunger over the drain. Fill the sink with a few inches of water to create a good seal. Plunge firmly for about 20-30 seconds. If the clog remains, you might need professional help. Knowing when to escalate the problem is key, and understanding if it is worth repairing a garbage disposal yourself or hiring an expert is a smart decision.
Steps for Clearing a Minor Jam
When your disposal stops spinning and just hums, it usually means something is caught in the grinding chamber. This is a common issue and you can often fix it yourself. Always remember to prioritize safety before attempting any repairs.
First, cut the power to your disposal. You should flip the wall switch to the off position. For extra safety, turn off the circuit breaker that controls the disposal’s power. Then, use a flashlight to look inside the drain opening. See if you can spot any foreign objects like silverware or fruit pits. If you see something, use pliers or tongs to carefully remove it. Never put your hand inside.
If you cannot find an object, or if removing it does not solve the problem, locate the hexagonal hole on the bottom of the disposal unit. Insert the correct size hex wrench, usually 1/4 inch or 1/8 inch, into this hole. Rotate the wrench back and forth vigorously. This action will manually free the grinding plates. Once the wrench moves freely in a full circle, remove it.
Finally, find the small red reset button on the bottom of the disposal. Push it firmly. Restore power to the disposal at the circuit breaker and wall switch. Turn on cold water and then activate the disposal. It should now run smoothly. If it trips again, there may be a more serious issue.
Simple Fixes for Persistent Odors
A smelly disposal can ruin the atmosphere of a clean kitchen. Lingering food particles often cause these odors. Luckily, there are easy and natural ways to eliminate them.
One method I often recommend is grinding a cup of ice cubes mixed with half a cup of rock salt. This combination scrapes away food residue from the grinding chamber and sharpens the impellers. You can also use a mixture of baking soda and vinegar. Pour half a cup of baking soda into the drain. Let it sit for a few minutes and then add a cup of white vinegar. The fizzing action will help break down grease and food buildup. Rinse with hot water after about 15 minutes.
Another simple trick is to grind a few slices of lemon or orange peel. The citrus oils act as a natural deodorizer, leaving a fresh scent. You can also try grinding a cup of vinegar ice cubes. Just freeze white vinegar in an ice tray and grind a few cubes with cold water running. These simple fixes are effective and keep your kitchen smelling great.
Advanced Maintenance Tips and Checks
Beyond daily care and basic troubleshooting, some advanced maintenance steps help ensure your disposal’s long-term health. These checks prevent small problems from becoming major repairs and extend the unit’s lifespan.
Regularly check for leaks around your disposal unit. Look under the sink for any signs of water drips or moisture on the pipes. Tighten any loose connections you find. If you see persistent leaks, it is important to address them quickly. Small leaks can lead to costly water damage and mold growth. I recommend checking under the sink at least once a month, especially after heavy usage.
Inspect the rubber splash guard in the sink opening. Over time, it can become stiff, cracked, or caked with food grime. A worn-out splash guard can prevent proper drainage and lead to splashes during operation. You can usually remove the splash guard for thorough cleaning or replacement. A clean and flexible splash guard helps the disposal work efficiently and keeps your kitchen tidy.
Consider an annual professional inspection. A qualified plumber can thoroughly check the unit’s components, including the motor, impellers, and electrical connections. They can identify potential wear and tear before it causes a breakdown. This proactive approach can catch problems early, saving you from unexpected repairs down the road. It ensures that your disposal is always operating at its best.
Conclusion: Keep Your Kitchen Running Smoothly
Maintaining kitchen disposal units might seem like a small task, but its impact on your kitchen’s efficiency and hygiene is significant. By adopting simple daily habits, you can prevent many common issues that lead to expensive repairs or unpleasant odors. Always remember to use cold water while grinding and be selective about the food waste you put down the drain. Greasy foods, fibrous vegetables, and hard items are the main culprits in disposal breakdowns.
When odors or grime appear, natural cleaning methods like ice and salt or baking soda and vinegar offer effective and safe solutions. Avoid harsh chemical drain cleaners because they can cause more damage than good. Knowing how to handle minor jams with a hex wrench and reset button can save you time and money. Always remember to turn off the power before attempting any internal fixes for safety reasons.
Regular inspections for leaks and keeping the splash guard clean are also important for the unit’s longevity. Thinking about a yearly professional check-up can provide peace of mind. Investing a little time in prevention and care helps your disposal perform reliably for many years. A well-maintained disposal means a cleaner, more functional kitchen for you and your family. Start these habits today and enjoy a worry-free kitchen environment.